Difference between revisions of "Active Directory/Documentation/Computer Migration Instructions"
Jump to navigation
Jump to search
| Line 51: | Line 51: | ||
# Once the migration wizard completes, make sure <b>Agent Operation</b> shows <b>Successful</b>. Click <b>Close</b> to exit the Computer Migration Wizard. | # Once the migration wizard completes, make sure <b>Agent Operation</b> shows <b>Successful</b>. Click <b>Close</b> to exit the Computer Migration Wizard. | ||
#* If there were any errors, click View Migration Log for details.<BR>[[Image:admt-sid9.jpg]]<BR><BR> | #* If there were any errors, click View Migration Log for details.<BR>[[Image:admt-sid9.jpg]]<BR><BR> | ||
| + | |||
| + | ==FAQs== | ||
| + | # If a user logs in with their WOLFTECH account before SID translation is complete, do this: | ||
| + | #* Delete the profile directory under C:\Documents and Settings (usually username.WOLFTECH). | ||
| + | #* Delete the registry key for the user under HKEY_LOCAL_MACHINE\SOFTWARE\Microsoft\Windows NT\CurrentVersion\ProfileList. The key to delete is the users WOLFTECH SID. | ||
Revision as of 15:24, 22 March 2006
The following is the procedure to migrate a computer from the ECEW2K domain to the WOLFTECH domain.
Computer Migration
The Computer Migration Wizard allows you to remotely migrate computers between domains. The following instructions explain how to use the Computer Migration Wizard to migrate computers from ECEW2K to WOLFTECH.
- Use RemoteDesktop to log in to the migration server (migration.ece.ncsu.edu). Log in using an account that is a member of the WOLFTECH\Computer Migrators group.
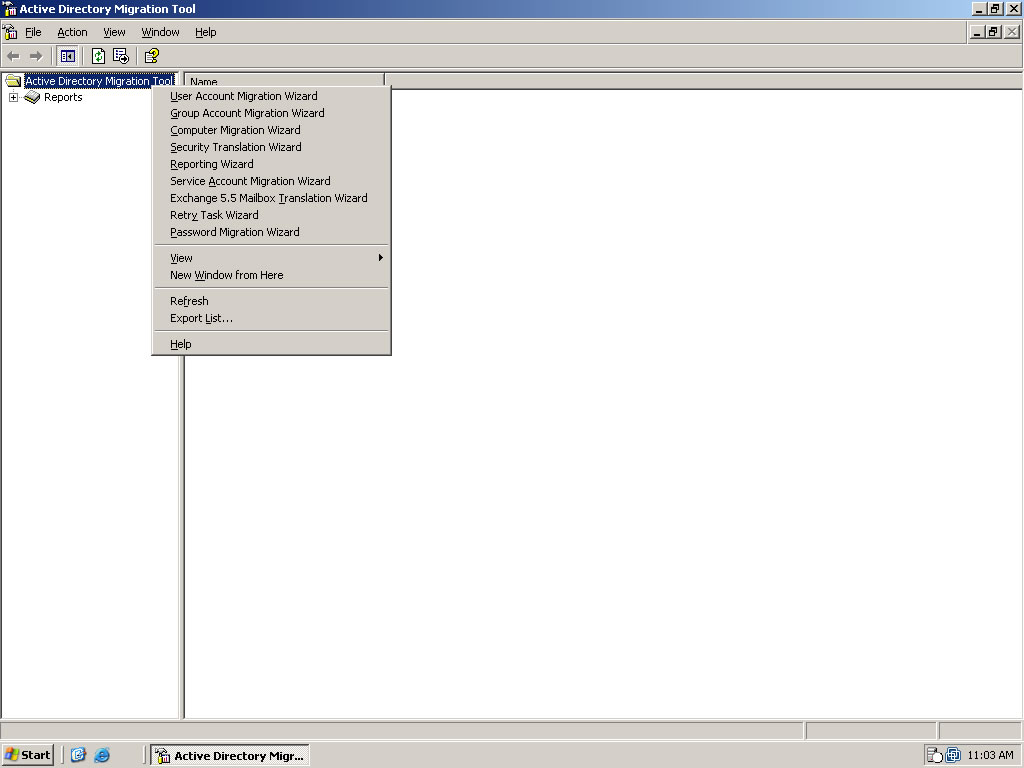
- The Active Directory Migration Tool will startup automatically.
- Right click Active Directory Migration Tool, and choose Computer Migration Wizard.
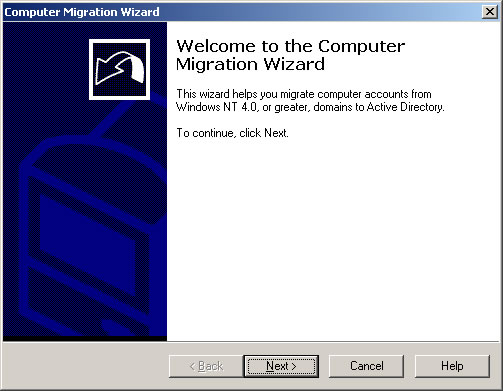
- You should see the Computer Migration Wizard. Click Next.
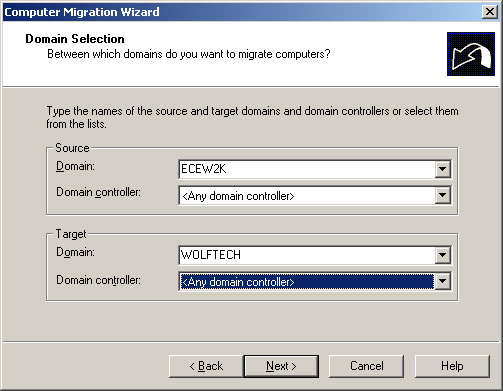
- Choose the source and target domains as shown and click Next.
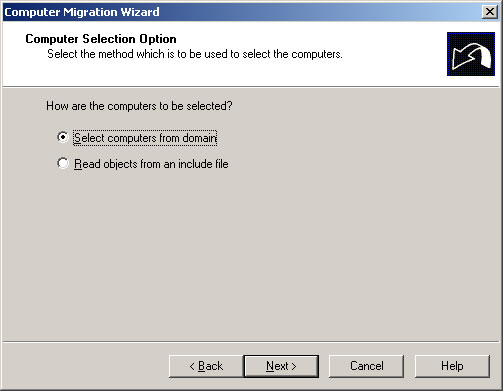
- Choose Select computers from domain and click Next.
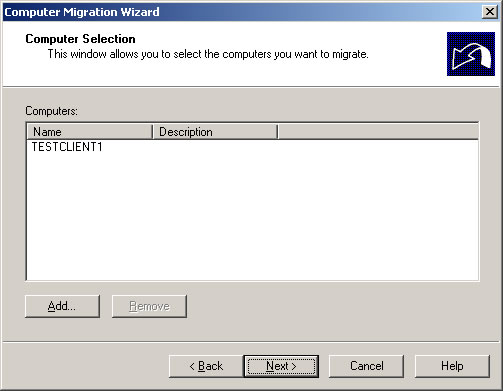
- Choose the computer(s) to migrate and click Next.
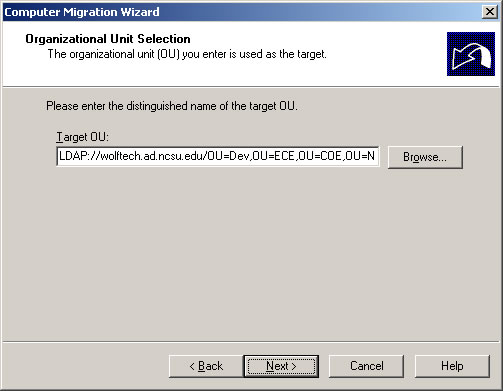
- Choose the target OU to migrate the computer(s) to and click Next.
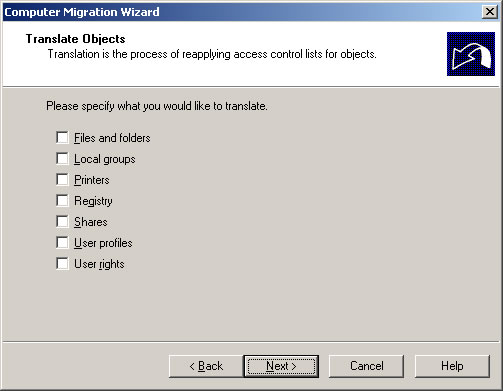
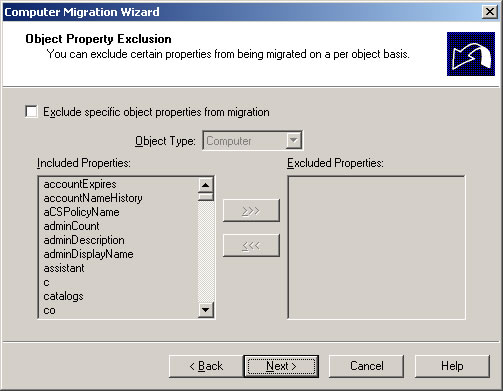
- Uncheck all the checkboxes and click Next.
- Note: This only translates intra-forest SIDs, so it's no help to us.
- Note: This only translates intra-forest SIDs, so it's no help to us.
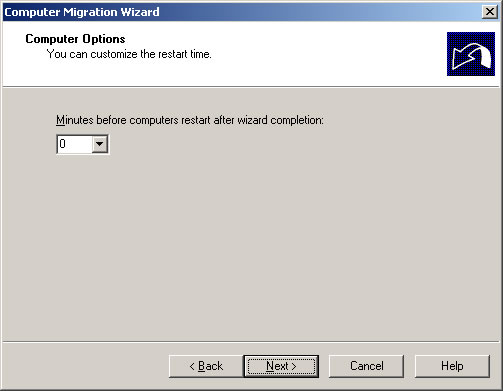
- Choose the number of minutes to wait before rebooting the migrated computer and click Next.
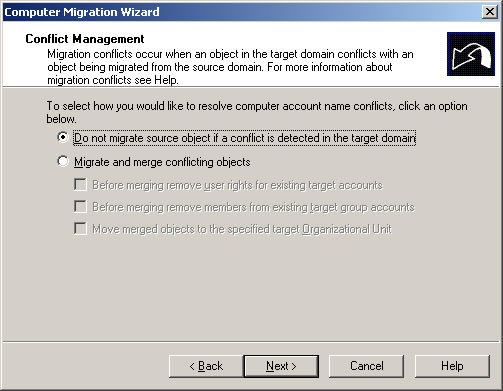
- Keep the defaults and click Next.
- Keep the defaults and click Next.
- Click Finish.

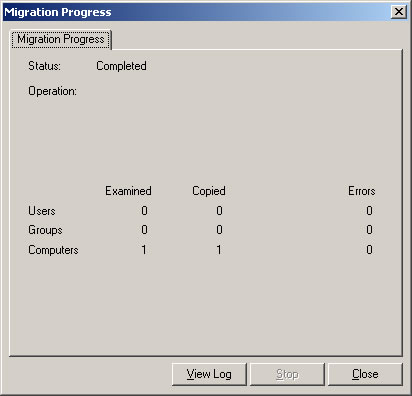
- The Compute Migration Wizard will now migrate the computer account(s). When it finishes, click Close.
- If it completes successfully, the number of computers finished will be equal to the number examined and there will be zero errors.
- If there are errors, view the log for details.
- Open the Active Directory Users and Computers console. Add the computer to the necessary groups before proceeding.
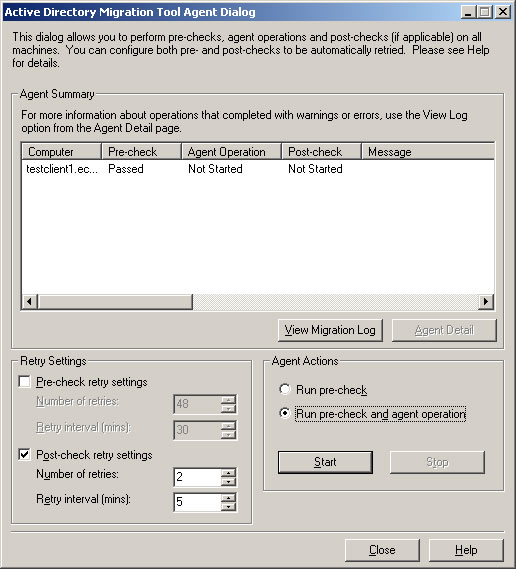
- In the Active Directory Migration Tool Agent Dialog, click Start to run the pre-check.
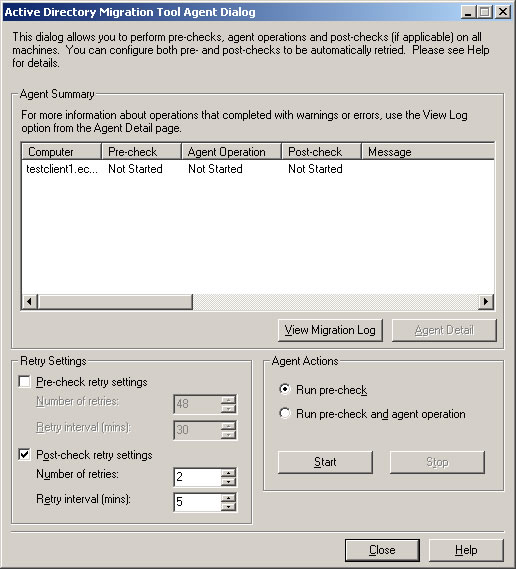
- If the pre-check passed, choose Run pre-check and agent operation, and click Start.
- If the pre-check failed, click View Migration Log for details.
- Common problems:
- Make sure the firewall is configured correctly.
- Make sure WOLFTECH\Computer Migrators is a member of the computer's local Administrators group.
- Once the migration wizard completes, make sure Agent Operation shows Successful and Post-check shows Passed. Click Close to exit the Computer Migration Wizard.
- If there were any errors, click View Migration Log for details.
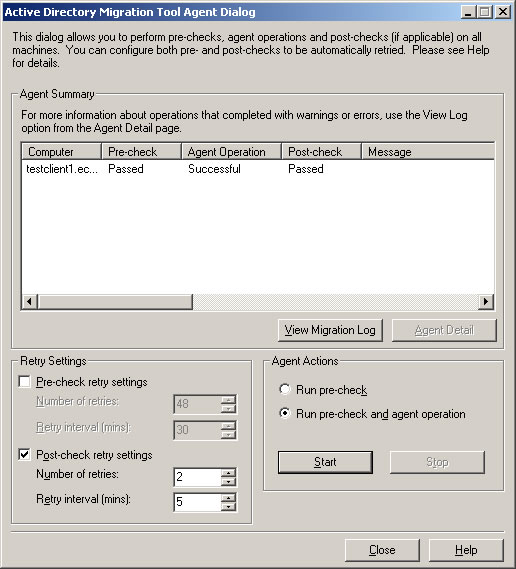
- If there were any errors, click View Migration Log for details.


SID Translation
The Security Translation Wizard allows you to update the SIDs from the source domain to the SIDs of the target domain in the ACLs. This allows you to migrate user profiles and permissions from the user's source domain account to the user's target domain account.
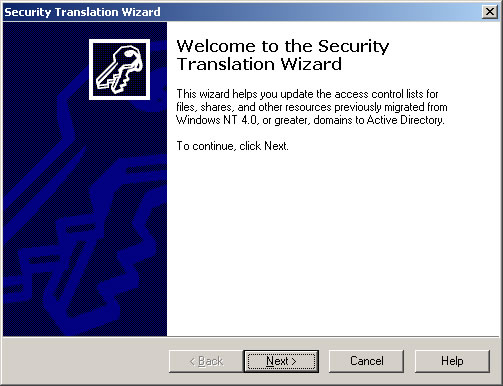
- Right click Active Directory Migration Tool, and choose Security Translation Wizard.
- You should see the Security Translation Wizard. Click Next.
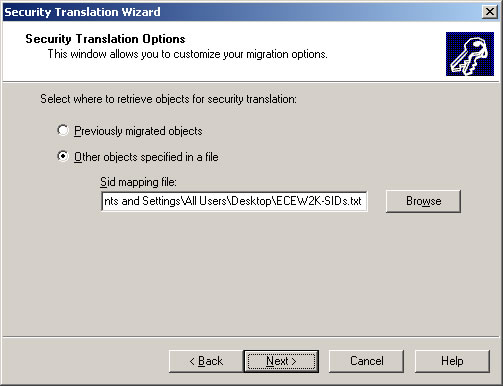
- Choose Other objects specified in file. Click Browse and find ECEW2K-SIDs.txt located on the Desktop. Click Next.
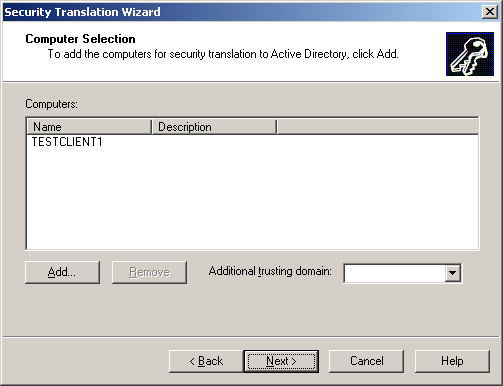
- Choose the computer(s) you wish to translate security on and click Next.
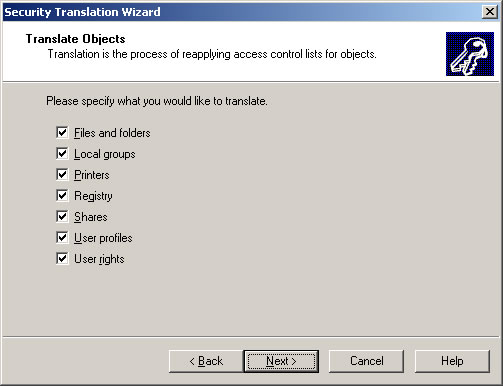
- Check all the checkboxes and click Next.
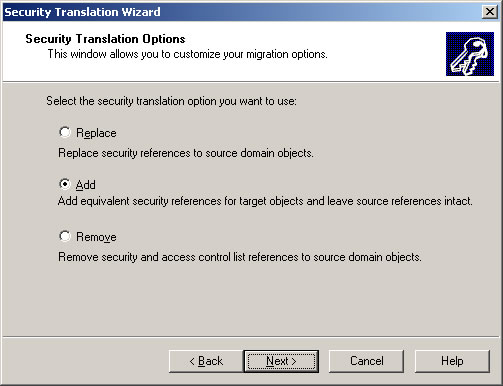
- Select Add and click Next.
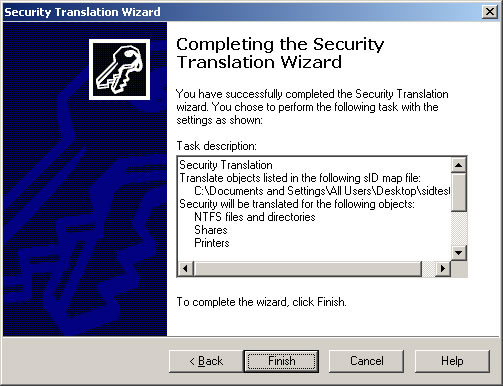
- Click Finish.
- You should now see the Active Directory Migration Tool Agent Dialog. Click Start to run a pre-check.
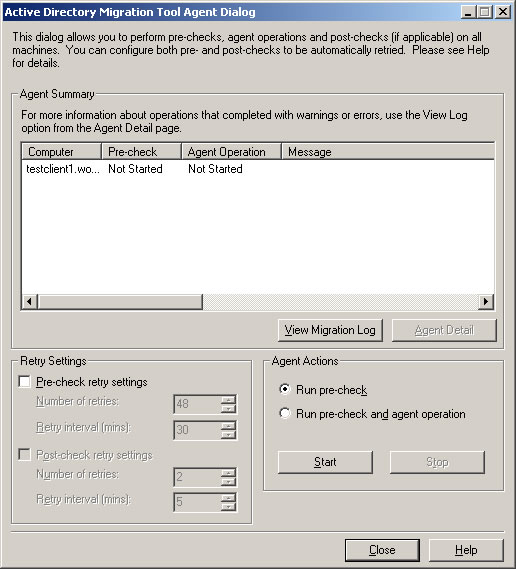
- If the pre-check passed, choose Run pre-check and agent operation, and click Start.
- If the pre-check failed, click View Migration Log for details.
- Common problems:
- Make sure the firewall is configured correctly.
- Make sure WOLFTECH\Computer Migrators is a member of the computer's local Administrators group.

- Once the migration wizard completes, make sure Agent Operation shows Successful. Click Close to exit the Computer Migration Wizard.
- If there were any errors, click View Migration Log for details.

- If there were any errors, click View Migration Log for details.


FAQs
- If a user logs in with their WOLFTECH account before SID translation is complete, do this:
- Delete the profile directory under C:\Documents and Settings (usually username.WOLFTECH).
- Delete the registry key for the user under HKEY_LOCAL_MACHINE\SOFTWARE\Microsoft\Windows NT\CurrentVersion\ProfileList. The key to delete is the users WOLFTECH SID.